Ultimate Guide To Microblading Aftercare
- Ashley Kinsela
- Aug 13, 2025
- 9 min read

So you just had microblading done to your eyebrows, or you are thinking of going for it? Wondering about how the healing up process would go? Are you feeling worry about how you are going to maintain those semi-permanent eyebrows? Or maybe you are one of those who just want to know what microblading eyebrows actually mean?
Then you are at the right place. This guide walks you through everything that includes the microblading after-care requirements, from those crucial first 24 hours right through to maintaining your stunning new brows months down the line. Whether you're dealing with microblading day 2 concerns or wondering what typically happens by microblading day 10, we've got you covered.
We'll walk you through the full micro-blading eyebrow healing timeline, share some vital aftercare tailored to the Australian climate, and help you understand just exactly what micro-bladed brows will look like in all stages of healing. By the end of this guideline, your confidence will venture taking care of your semi-permanent eyebrow makeup and getting those ultimate beautiful, realistic microblading eyebrows you've always desired.
Understanding Microblading Eyebrows
What Is Microblading of Eyebrows?
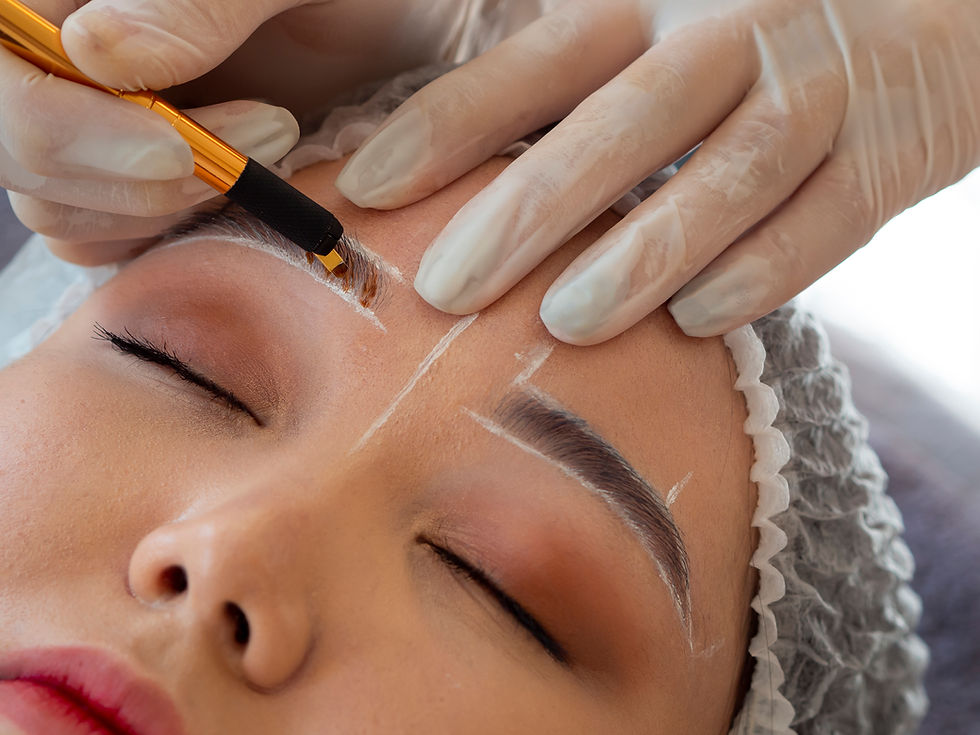
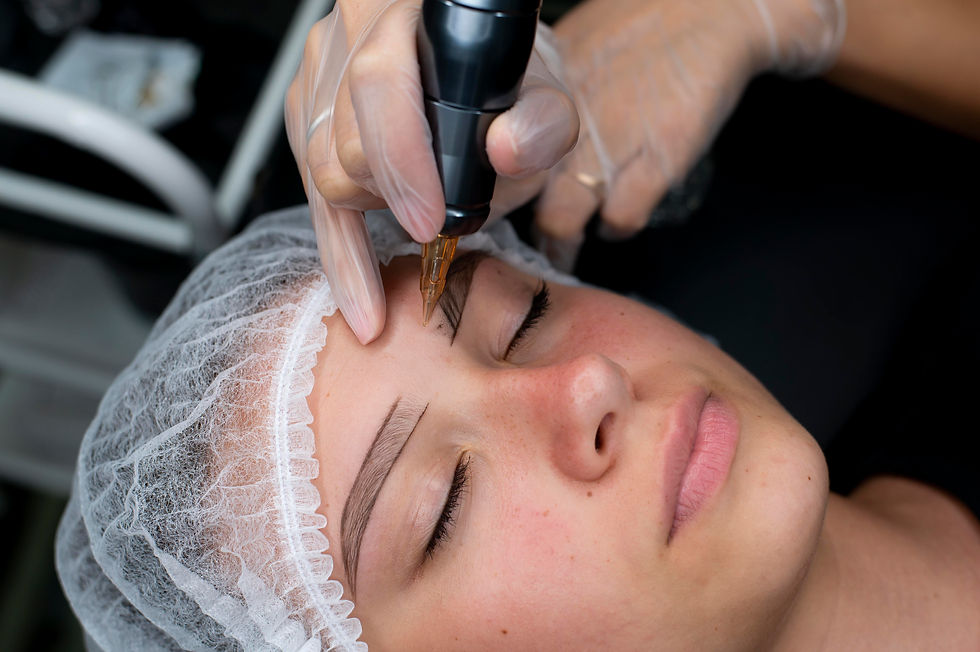
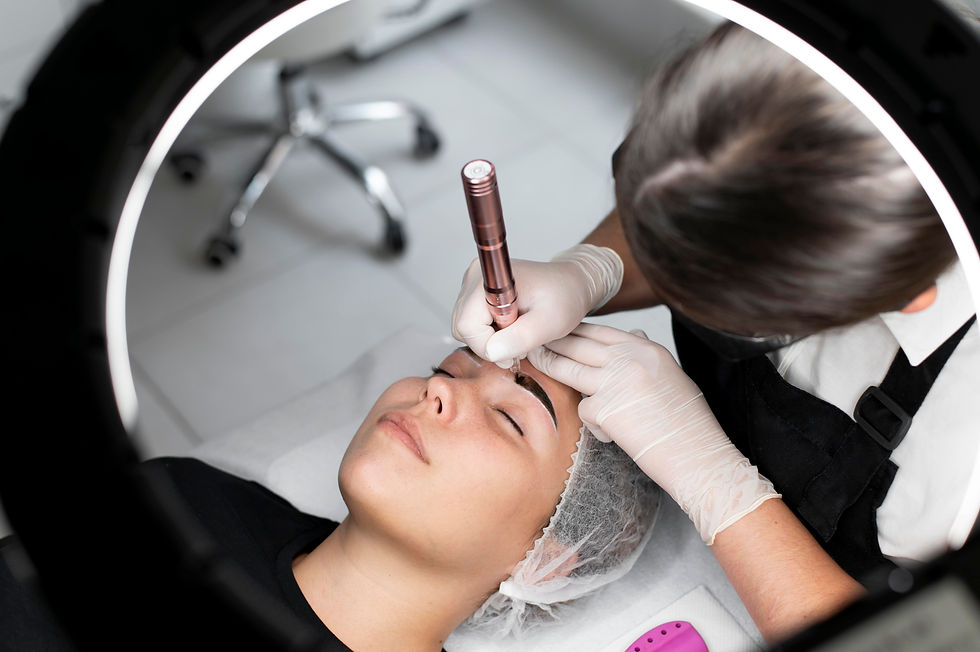
First things first. What really is microblading for the brows? It is a semi-permanent cosmetic procedure, which will create hair-like strokes in order to fill in sparse eyebrows, poorly shaped eyebrows, or disappearing eyebrows. With a handheld tool consisting of ultra-fine needles, the professional deposits a colored pigment in the upper layers of your skin, resulting in hair strokes that look so real with your existing brows.
Compared to the conventional eyebrow tattoo, which is blocky or unnatural for the most part, the look can mimic natural hair as if it has really been filled in with that of a real hair. This is a breakthrough beauty process which could revolutionize a lot of things for anyone wanting a fuller eyebrow without the hassle of beauty pencils and powders on a daily basis, but especially on a good day for letting go of over-tweezed brows from the early noughties (we do have all been there!) or suffering hair loss.
The whole procedure generally takes about two hours, including the consultation, mapping your ideal brow shape, and the microblading. Most clients describe the experience as mildly uncomfortable to painful because numbing cream is applied beforehand.
Semi Permanent Eyebrow Make-Up and Tattooing
Now things get really interesting. Both involve the same concept of depositing pigment into the skin; however, semi permanent eyebrow make-up and traditional tattooing are two very different beasts. Permanent tattoos penetrate single dermis layers, while microblading only gets to the upper dermal layer.
With this, your micro bladed brows are expected to fade within 12 to 18 months, giving you the opportunity to change your brow shape and color depending on trends or your own inclination. The pigments used in brown microblading are especially formulated to break down naturally with time, thereby preventing the dreaded blue-green tint that usually comes with old-school eyebrow tattoos.
Moreover, the tools are as divergent as night and day. A traditional tattoo machine uses a needle that moves rapidly up and down, while that of microblading uses a manual blade to make sharp, hair-like strokes. Because of this manual technique, technicians have the utmost control in adjusting the depth, direction, and density of each stroke.
Achieving Awesome Eyebrows through Natural Look Microblading
It's not all about creating those extravagant Instagram brows which got photo-filtered and mukbang'd to seem exquisitely made - it's rather about enhancing what you've got and making eyebrows permanent enough to wake up with, but subtle enough not to spark suspicion that they're not actually yours.
Natural looking microblading eyebrows need the right technician at a right eyebrows salon. The portfolio of work should show a variety of natural results rather than just extreme dramatic transformations, and the consultation should take into account face shape, normal hair color, skin tone, and lifestyle during design.
An excellent technique will produce the desired outcome in a natural way. This means mixing the lengths, curves, and directions to imitate how the hair naturally grows. Different shades of pigments will also be blended to complement the natural color of your hair perfectly, giving dimension and depth that flat, single-color brows just can't create.
The First 24-48 Hours Post Eyebrow Treatment
Microblading Day 1: What to Expect Immediately After
Right after the procedure, don't panic if your brows turn out darker and bolder than you expected-that's totally normal! Just wait as the pigment initially appears much bolder since it sits on your skin as well as inside it. Your eyebrows permanent makeover might feel a little tender to the touch as one might feel after a mild sunburn.
You can observe some lymph fluid weeping from the treated area during the first few hours. This clear, slightly yellowish fluid is your body's normal reaction to the micro-wounds caused by the procedure. Clean and gentle dabbing should be done hourly with a clean tissue to prevent heavy scabbing later.
Your technician will probably apply a thin film of aftercare ointment before you leave. It should be kept on for the period as specified, usually a few hours. Some redness and slight swelling around the brow area are totally normal and usually resolve within 24 hours.
Microblading Day 2: Coping
Microblading day two of the initiation shock should pass. Your brows will still look comparatively dark when your extremely dark brows are up - probably 40-50% darker than the result in the end-but this is all part of the process. The tender experience would probably have subsided significantly by now.
The tightness in the brow area might start to develop as the healing process kicks in. This is when your aftercare routine becomes crucially important. Cleanse your brows gently with lukewarm water and a mild fragrance-free cleanser and then pat them softly dry with a clean paper towel.
A rice-grain amount of your aftercare ointment should be applied, which supplies moisture to the area and does not allow the area to become too moist. When the area is overly damp, healing is disrupted, causing pigments to heal patchily. Less is definitely more regarding aftercare products during these early days.
Must Following Do's and Don'ts for the First Two Days
The first 48 hours set the ground for your entire healing experience. This is what you must do: keep your brows dry except during gentle cleaning, sleep on your back to prevent rubbing, and resist any urge to touch or pick at the area. Clean hands only when you must handle your brows.
Now for the don'ts-which are not supposed to be negotiated with. Don't get your brows wet while showering (turn away from the water stream), forget to skip the regular skincare regime around the brow area, and definitely don't go to the gym. Sweating could push the pigment out and increases the risk of having an infection.
Stay out of bright sunlight, saunas, and swimming pools. Do not touch or apply makeup to any surrounding areas around your brows, or use any products not directively recommended by your technician. You even shouldn't use your favorite face cream, which innocently might contain something that messes with the proper healing or retention of pigment.
Semi-Permanent Eyebrow Care
The Daily Aftercare Regimen
At this phase, learning how to take care of semi-permanent brows properly makes a difference in results. Every morning, wash your brows with lukewarm water and a speck of mild, non-smelling cleaner. Use the finger circling motion very lightly for about 10 seconds.
When the area is completely dry, use a clean tissue or paper towel; never rub! Air-drying may sound gentler, but it brings about a heavier scab. After drying, apply a thin layer of the aftercare ointment using a clean cotton swab. The idea is to layer the skin with an almost invisible shield to keep it supple but not suffocatingly so.
Repeat the process morning and night, or as directed by your technician. In between washes, keep brows as dry as possible. If they feel particularly tight or itchy during the day, fresh touch is okay; don't apply too much ointment, though.
Day Mt Microblade 10: Check Your Progress
This is where things get to the nitty-gritty by microblading day 10! Most of the clients' brows have undergone a great journey. It went bold, dark, and probably at this point gets scabby and afterwards disappears as off the scabs. This is the stage where many people start panicking; they've got to trust the process.
At this point, the pigment may be very much less than vivid and even patchy. This is because, at that point, the new skin growing over the pigmented area is jammed up, cloudy, and quite thick. In about a few weeks, this new skin will become normal and the original color will surface. It's like looking through a foggy window gradually clearing.
The clear natural light is the perfect spot for capturing progress photos. It will show some areas appear in the healing process faster than the others, which is perfectly understandable. Everyone's body has a different pace of healing and is affected by different factors such as age, skin type, and adherence to aftercare.
Common Mistakes to Avoid During Week One
The biggest mistake? Uppity impatience. Avoid and do not over-clean or over-moisturize your brows to keep your skin tough, flaky, and scab-free at the cutaneous level and give patchiness in your results. Unless specified by your technician, stick to the routine of twice a day.
Another common mistake is the tendency to steam the brows with hot showers, cooking, or even hot beverages that get too close to the face. Steam will open your pores and cause blurring or rainy spots of the pigment-keep showers lukewarm and short, and let that coffee cool down a bit before you drink some.
Most people would succumb to the temptation of picking at flaking skin or scabs. We know it is so difficult to stop, but doing so would pull strands of pigment off and leave scars. If a scab is hanging on by a thread, let it fall off naturally. Your patience now means better results later.
The Whole Healing Process Eyebrow Tattoo Timeline
Scabbing
During the first week of your healing process on the journey of an eyebrow tattoo, the most dramatic changes on your brows take place. The scabbing might come about between 3-5 days, where the microbladed strokes suffer flakes of thin film-like scabs. They're not thick, crusted ones as from a cut; they are much more of a light flaking.
During this time, it could also look a tad dark and slightly raised up. It might appear a little reddish-brown as the scabs are forming which is just as normal as brown microblading. By day seven, most of that scabbing would naturally be on its way to flaking off.
This week is during the most discipline. Your brows would most likely be feeling tight and itchy; however, touching them would mean giving way to infection and loss of pigment. Continue with your after-care routine religiously, remember that this little discomfort is the way to an everlasting beautiful result.
The "Disappearing" Brows Phase
Do not worry, if your eyebrows permanent makeup seems to vanish. This "ghosting" phase happens in the time frame from days 8-14 and is very normal. Ginormous pigment that appears almost absent to the new skin is temporary, but the scabs remove surface pigment in this phase.
Your brows might look really light in color, patchy, or in some areas completely disappear. This is when many clients start to doubt whether the procedure has worked or not; yet, for sure, the pigment is still there, fixing itself in the layers of the skin where it should.
During this phase, you could generally start getting back to your usual routine, albeit avoiding using any harsh exfoliation products in the brow area. You could also commence using eye makeup again but would need to be careful with the removal process and avoid the brow area for another week.
Colour Return and Settling
This is when it gets exciting: Week 3 and your colour will begin reappearing. The new skin becomes slightly translucent and betrays the real colour of your semi-brows. What was thought to be lost comes back into sight, most often appearing softer and more natural than the original bold result.
By now, four weeks should see your microbladed eyebrows about 30-40% lighter than they were directly after the procedure; this is exactly as envisaged - that fading from the earlier darkness until the desired final shade is achieved. Even more so, seeing as the strokes look more defined and hair-like, since all the swelling has subsided.
This is now the point where you can truly assess whether you do need a touch-up in any area; take clear photos in natural light to show your technician at the appointment. Most people will reasonably need a little touch-up anyway, just to perfect the shape and fill in any bits that didn't hold pigment quite as well.
Final Results and Touch-Up Considerations
At six weeks, your eyebrow permanent makeup has completely healed; this period is when you're beginning to see the real results of your microblading. The colour is stable; the strokes finally look natural and defined, so they can now really be admired.
This is when touch-up appointments are scheduled. Even the best aftercare usually leaves a few things that need adjustment for most clients. One brow could have been somewhat lighter through healing, or a few sparsely pigmented areas might need filling in. Your technician will add some additional strokes, adjust the shape a bit, or deepen the colour where needed.
The touch-up also marks a great opportunity to ask for minor adjustments; say, the tail could be a tad longer, or the arch slightly higher. A little bit can be done, but major changes aren't good since they might become pretty evident against the first-session who is healing.
Conclusion
Congratulations; you now have come through this comprehensive manual of microblading aftercare! By now you know precisely what microblading eyebrows means and what must be done to help your semi-permanent eyebrow makeup heal pretty well. From those important first 48 hours to six weeks and beyond, you have all the artillery required for getting things right.
Comments